
Hello guys, today I found an old footage which I filmed of this little furry fellow and I decided that it could be a nice little “test subject” 😉 for today’s stabilization tutorial.
On this video you can see before/after stabilization:
If you are already in your program you can set your stabilization ON by clicking on the red circle icon as it is with most of davinci resolve settings and effects.
Analyzing there are 3 main stabilization modes:
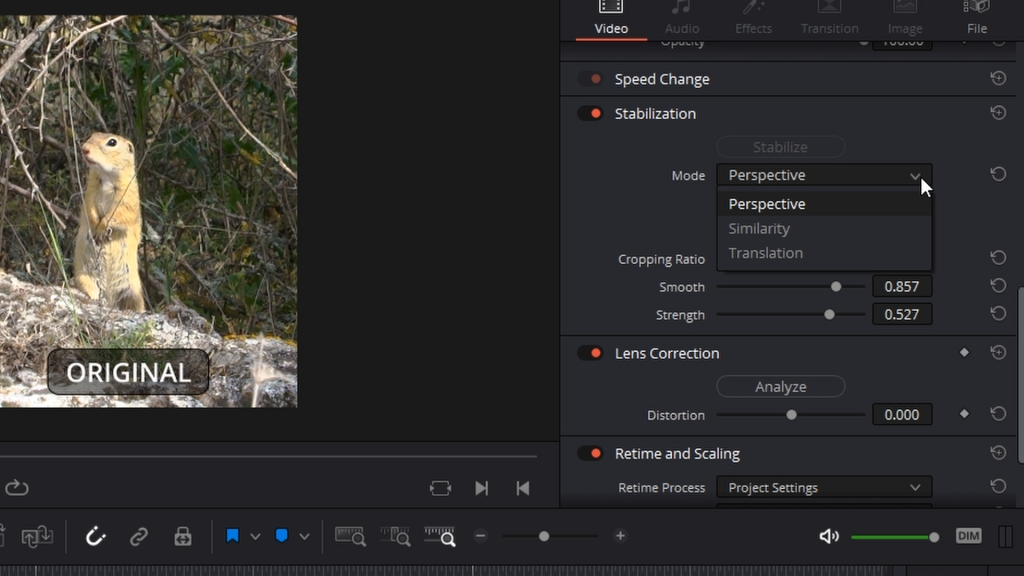
- Translation – which enables pan and tilt analysis and stabilization and is useful when you want to stabilize movement along the X and/or Y axis only.
- Similarity – which enables pan, tilt, zoom, and rotational analysis and stabilization;
- Perspective (the default setting), which enables pan, tilt, zoom, rotation, and perspective analysis and stabilization.
This is practically all the information that you can get for these modes from the Official Davinci Resolve Manual for DR 17. The rest is up to trial and error.
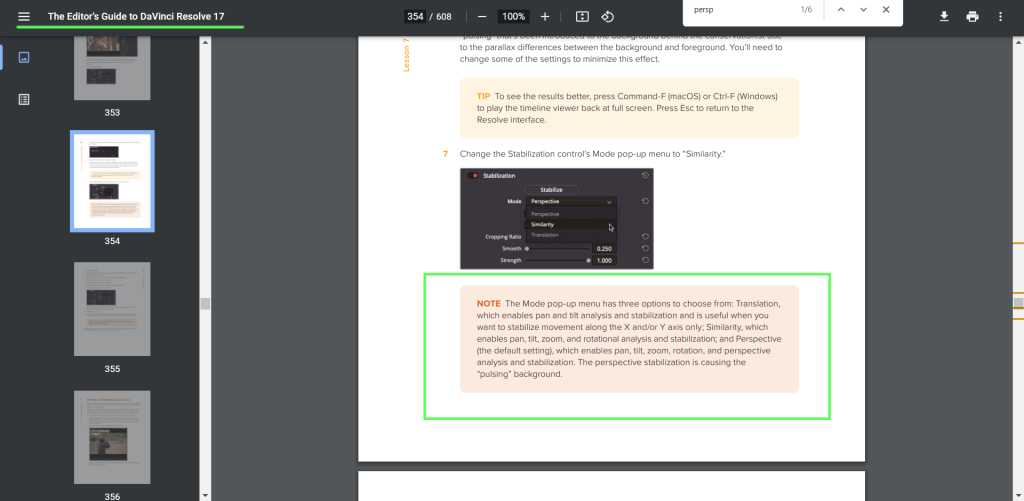
Based on my personal experience the perspective stabilization is the best of the 3 options but is causing sometimes the “pulsing” background. This is something that is also stated into the Blackmagick Davinci Manual. They are mentioning that this pulsing background is due to quoting: “the parallax differences between the background and foreground.”
And the way to avoid or reduce this pulsating effect is by tweaking the main settings in the stabilization window of the inspector panel.

The Camera Lock setting is imitating footage filmed on a tripod. I am not using it for handheld shots, because it looks unnatural and out of place.
So I uncheck it.
The next option is Zoom. If Zoom is not checked then after the stabilization process you will see black bars around your stabilized footage. And the way to avoid it is by zooming by yourself.
You can play to zoom on certain points in your video manually but casually the AI is doing pretty good job by itself and I leave this option checked.
Then we are at the 3 main settings.
Cropping Ratio is the ratio by which the AI is going to analyze your footage and is going to “compensate” for the shaking. In most cases more cropping means better stabilization but also means that part of your footage is going to be lost (because of the zooming).
Something that can be little tricky and misleading is that more cropping is applied when the slider is closer to the 0 and not to the 1.
The smooth option means how much the video is going to be made “less shaky”. I don’t overdo this option because sometimes it causes me to feel dizzy while I am watching the video. I think that you are risking to loose some of the natural feel of your footage.
And finally I am using the Strength option like a “Dry/Wet” knob. Which means literally how much of the “all cropping effect” is going to be applied to your footage.
SIDE NOTE: When you are playing around with the different modes in order to have any effect you have to click on Stabilize every time when you change between one of the modes.
That’s for today’s tutorial.
Have a nice day.
